Privacy & technology
Test Prayer Notifications With a Simple QA Checklist
Test prayer notifications on iPhone or Android: confirm the schedule, record the setup, compare expected and observed alerts, and change one setting per test.
Editorial writing date:
Test a prayer notification the way a software tester would. Write down what should happen, record your phone's setup, then note what actually happened. Change only one setting before the next test. A short log like that tells you, or the app's support team, far more than "the adhan didn't work."
One good result describes one app version, one phone and one set of conditions. It does not guarantee every future alert after an update or a new phone mode. Note the conditions next to each result.
Key Takeaways
- Confirm the prayer time is right before you test the alert.
- Record the app version, phone model, system version and phone mode for every test.
- Write the expected result before the test and the observed result after it.
- Change one setting at a time, and back up your records before reinstalling.
Step 1: Confirm the schedule
An alert that arrives on time for the wrong timetable is a schedule problem, not a delivery problem. Check the schedule first.
Open the app and compare today's times with the location, date, calculation method and Asr setting you expect. The adhan notification help page lists these checks. If two apps disagree, the guide to why prayer apps show different times explains the usual settings to compare.
Step 2: Record your baseline setup
Write these down before the first test:
- phone model and system version (for example, iOS or Android version)
- app version
- date, time zone and the city the app shows
- the prayer you are testing and its selected sound or mode
- phone mode: ring or silent, and any Focus, Do Not Disturb or Mode that is on
- any battery saver or background restriction on the app
You can name the city instead of sharing exact coordinates. These notes are observations, not instructions to turn off your phone's safeguards.
Step 3: Define the expected result
Base the expected result on the setting you chose. If you picked a standard notification with an adhan sound, expect a visible alert with that sound. Do not expect it to override silent mode or play a full recording in every situation. The help page says sound length and silent-mode behavior depend on the app feature, the operating system and device settings.
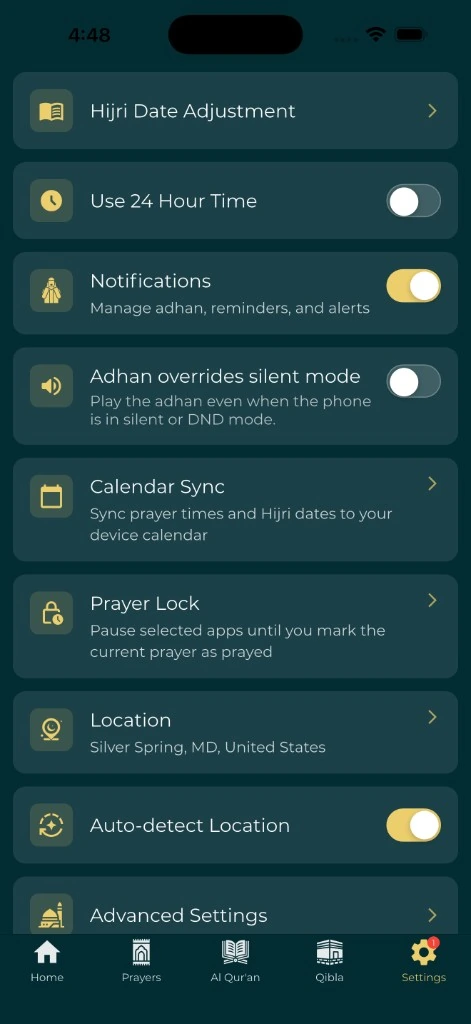
Then check the phone's own controls. On iPhone, Apple's notification settings guide says to open Settings, tap Notifications, then tap the app below Notification Style. Check that Allow Notifications is on, review Sounds, and see whether Notification Delivery is set to Immediate Delivery or Scheduled Summary. A summary holds alerts until its scheduled time.
On Android, Google's notification guide says to open Settings, tap Notifications, then App notifications, and select the app. If the app has categories, tap the prayer or adhan category and check its sound. The help page also suggests reviewing battery settings for the app on Android, because some manufacturers restrict background activity.
Step 4: Run the in-app test, then a real prayer
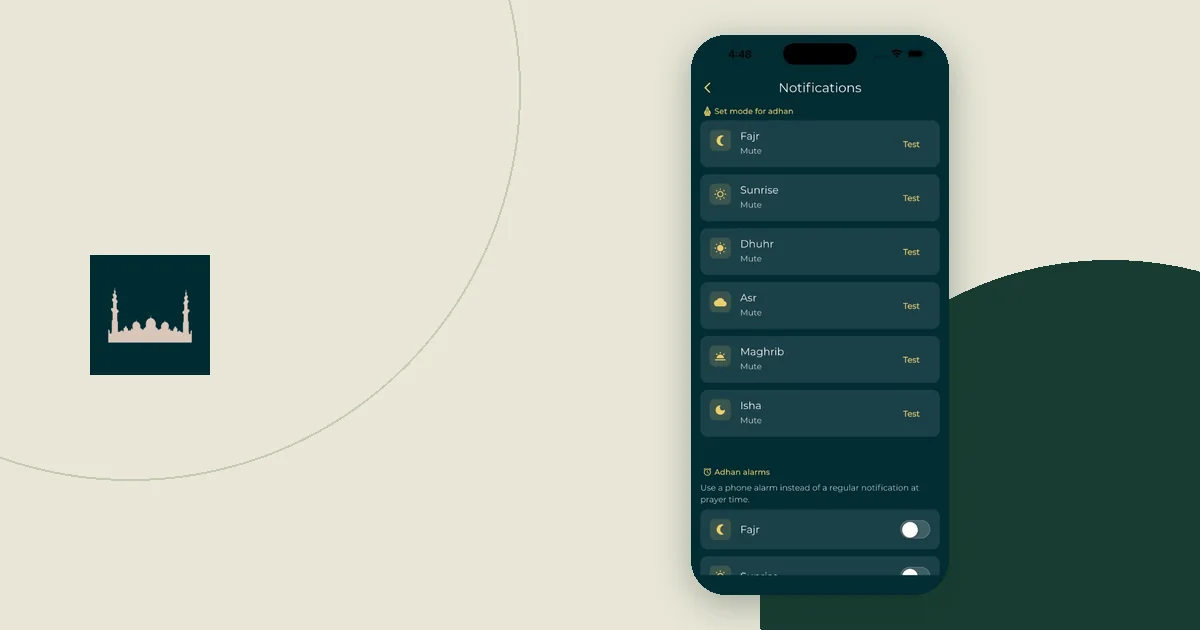
The current Everyday Muslim app has a Test Adhan Notifications button on its Notifications screen, which opens from the Adhan notifications setting. It shows a list of test notifications it will send over the next few minutes, in order, and lets you copy that list before you tap OK. Prayers set to None are left out of the list, so a missing prayer there is a clue in itself. Because the tests arrive a few minutes later, you can lock the screen or turn on your usual Focus mode while you wait. Each prayer that is not set to None also has its own Test button on that screen, which sends one test alert for that prayer straight away.
The same screen has an Adhan alarms section, where you can choose alarm delivery for individual prayers instead of a standard notification. If you use it, test it as its own case: an alarm can behave differently from a notification, and the app may ask you to allow alarm access first.
A test is still not the same as a real scheduled prayer. Treat them as separate cases and log both. Use this template, and fill in the last column only after you have watched the result:
| Case | Conditions | Expected result | Observed result |
|---|---|---|---|
| In-app test | Screen locked; usual phone mode | Each listed test alert appears at its listed time, with the sound you chose for that prayer | |
| Next scheduled prayer | Same setup as baseline | Visible alert with the selected sound at the prayer time | |
| Focus or Mode on | Same setup; named Focus or Mode active | Behavior allowed by that Focus or Mode's filters | |
| Adhan alarm on | Alarm turned on for one prayer; screen locked | The alarm sounds at the prayer time | |
| After one change | The single setting you changed | The intended difference |
If you are checking a delay, record the scheduled time and the time the alert appeared, with the time zone. Do not invent a success window such as "within one second."
A worked example: a silent Asr alert
This is an illustration, not a real test result. Imagine an Android user whose Asr alert shows up on screen but makes no sound.
| Run | Setup | Expected | Observed | Next step |
|---|---|---|---|---|
| 1 | Android phone; app version noted; Asr set to an adhan sound; "Work" Mode on | Visible alert with adhan | Alert visible, no sound | Check Work Mode filters |
| 2 | Same, with the app allowed in Work Mode | Visible alert with adhan | Fill in after the next test |
Between run 1 and run 2, only one thing changed: the app was added to the Mode's allowed apps. Google's Modes and Do Not Disturb article shows where that list lives: Settings, Modes, the mode, then Notification filters, then Apps. If run 2 has sound, the log points to the Mode. If not, the next single change might be the adhan category's sound setting.
On iPhone, the matching check is the Focus's allowed apps. Apple's Focus setup guide says to open Settings, tap Focus, choose the Focus, then tap Apps. Do not assume a prayer app is allowed automatically.
Step 5: Name what you saw
Use a narrow label for each failed case:
- Missing: no alert appeared while you were watching.
- Silent: the alert appeared without the expected sound.
- Delayed: the alert appeared after the scheduled time. Record both times.
- Cut short: the sound started, then stopped. Note what interrupted it.
- Wrong schedule: the app showed a different time from the one you meant to use.
These labels describe what happened; they are not a diagnosis. A missing alert does not prove a permission problem. On Android, the notification guide says notification history can show recently dismissed alerts, but not every device has it.
Step 6: Send support a short report
The adhan notification help page asks for your device model, system version, app version and the prayer that did not notify, and whether the alert was missing, silent, late or cut short. Add your expected and observed results and the settings you changed. Send it to support@umratech.com.
Attach a screenshot only when it helps. Crop out partner records, other notifications and account details first. The location and notification permission guide explains which settings are worth including.
If someone suggests reinstalling or clearing data, back up first. The backup and restore guide explains how to check that a recent backup exists. Once alerts work, keep only the reminders you need; the guide to prayer reminders you will notice helps you trim the rest.